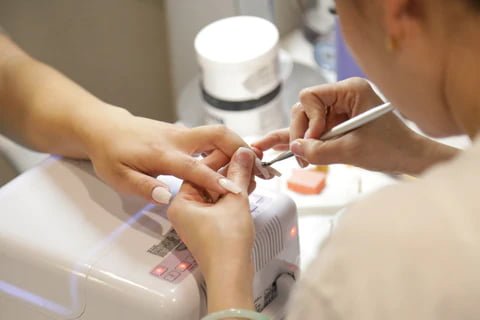
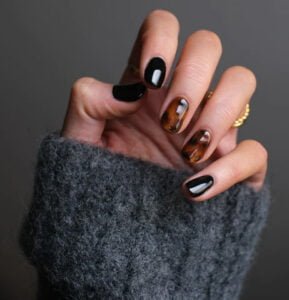
Professional nail art can take your manicure or pedicure to the next level. With so many different techniques available, there is something for everyone. Whether you are a beginner or a seasoned pro, there are always new things to learn.
Here are a few professional nail art techniques that you can use to create stunning results:
Ombre Nails
Ombre nails are a classic nail art technique that is still very popular today. This technique involves blending two or more colors together to create a gradient effect. Ombre nails can be done with any color combination, and they are a great way to add a touch of dimension and interest to any manicure or pedicure.
To create ombre nails:
- Apply a base coat to all of your nails.
- Choose two or more colors of nail polish that you want to use for your ombre effect.
- Apply a sponge to one of the colors of nail polish and lightly dab it onto your nail.
- Repeat step 3 with the other colors of nail polish, blending them together to create a gradient effect.
- Apply a top coat to seal in your design.
Foil Nails
Foil nails are a fun and trendy way to add a touch of glamour to any manicure or pedicure. This technique involves applying a thin layer of foil to your nails to create a metallic finish. Foil nails can be done in any color, and they are a great way to make a statement.
To create foil nails:
- Apply a base coat to all of your nails.
- Apply a thin layer of nail polish to your nails.
- Immediately after applying the nail polish, press a piece of foil onto your nail.
- Gently remove the foil and apply a top coat to seal in your design.
Glitter Nails
Glitter nails are always popular for special occasions, but they are also becoming more and more popular for everyday wear. If your clients are looking for a way to add a touch of luxury to their nails, consider offering them glitter manicures and pedicures.
To create glitter nails:
- Apply a base coat to all of your nails.
- Apply a thin layer of glitter nail polish to your nails.
- Apply a top coat to seal in your design.
Stamping Nails
Stamping nails is a quick and easy way to create intricate and professional-looking nail art. All you need is a stamping plate, a nail art stamper, and some stamping polish.
To create stamping nails:
- Apply a base coat to all of your nails.
- Apply a thin layer of stamping polish to your chosen stamping plate.
- Use the nail art stamper to pick up the design from the stamping plate.
- Stamp the design onto your nail.
- Apply a top coat to seal in your design.
Water Marbling Nails
Water marbling nails is a fun and challenging nail art technique that can create stunning results. This technique involves dipping your nails into a cup of water with different colors of nail polish floating on top. The nail polish will create a marble-like effect on your nails.
To create water marbling nails:
- Fill a cup of water with room temperature water.
- Drip a few drops of different colors of nail polish onto the surface of the water.
- Use a toothpick to swirl the nail polish colors together.
- Dip your nail into the cup of water, making sure that your nail is completely submerged.
- Gently remove your nail from the water and let it dry completely.
- Apply a top coat to seal in your design.
These are just a few of the many professional nail art techniques that you can use to create stunning results. With a little practice, you can master these techniques and create beautiful nail art for your clients.
Tips for Professional Nail Art
- Use high-quality nail polish and nail art products. This will help you to achieve the best results.
- Prepare your nails properly before applying nail art. This includes filing your nails to the desired shape and removing any old nail polish.
- Apply thin layers of nail polish. This will help to prevent your nail art from smudging.
- Use a top coat to seal in your nail art. This will help to protect your design and make it last longer.
- Be patient and take your time. Nail art can be tricky, but it is worth the effort to create beautiful results.


