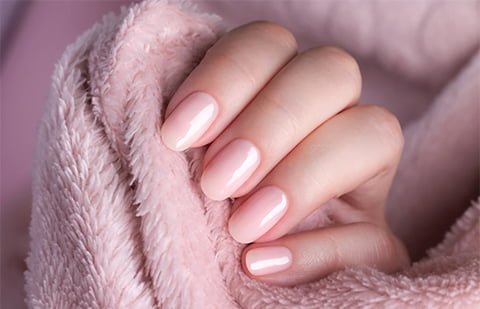
In the world of nail care and fashion, gel manicures have taken the beauty industry by storm. Offering long-lasting, chip-resistant nails and a glossy finish, gel nails are a popular choice for those looking for a manicure that can withstand the test of time. In this comprehensive guide, we’ll walk you through what a gel manicure is and provide step-by-step instructions on how to remove gel nails at home, all while keeping your nails healthy and beautiful.
What Is a Gel Manicure?
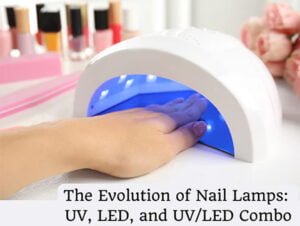
A gel manicure is a type of nail treatment that involves the use of a special gel nail polish cured under UV or LED light. Unlike traditional nail polish, gel polish is known for its durability and longevity, often lasting up to two weeks or more without chipping. Here’s how you can get a stunning gel manicure:
Step 1: Prep Your Nails
- Start by removing any old nail polish and gently push back your cuticles.
- Lightly buff the surface of your nails to create a smooth base.
- Clean your nails thoroughly to ensure they are free from any oils or residue.
Step 2: Apply Gel Polish
- Apply a thin layer of a gel base coat to your nails and cure it under the UV or LED lamp.
- Follow up with two coats of your chosen gel nail color, curing each layer separately.
- Finish with a gel top coat for a high-gloss shine, curing it once more.
Step 3: Final Touches
- After curing, wipe your nails with a lint-free nail wipe soaked in rubbing alcohol to remove any sticky residue.
How to Remove Gel Nails at Home
While gel nails are known for their durability, they eventually need to be removed. Going to a salon for removal is an option, but you can also do it at home with a few simple steps:
Step 1: Gather Your Supplies
- Acetone
- Cotton balls or pads
- Aluminum foil
- Nail file or buffer
- Cuticle oil
Step 2: Prep Your Nails
- Lightly file the top coat of your gel nails to break the seal and remove the shine.
Step 3: Soak Your Nails
- Soak a cotton ball or pad in acetone and place it on top of your nail.
- Wrap your nail with a small piece of aluminum foil to keep the cotton in place.
- Repeat for all nails and let them soak for about 15-20 minutes.
Step 4: Remove Gel Polish
- Gently slide the aluminum foil and cotton ball off your nails, and you should find the gel polish softened and peeling.
- Use a cuticle pusher or wooden stick to gently scrape off the remaining gel polish.
Step 5: Hydrate Your Nails
- Finish by applying cuticle oil to nourish your nails and cuticles after the gel polish removal process.
With this guide, you now have the knowledge to achieve a stunning gel manicure and safely remove it at home when the time comes. Gel nails offer a long-lasting and beautiful look for your nails, and with proper care, you can enjoy their benefits without any hassle. So, get ready to flaunt gorgeous gel nails and make your hands the envy of all!
Supplies you will need to remove gel nails:
Affiliate disclosure: As an Amazon Associate, we may earn commissions from qualifying purchases from Amazon.com, at no extra cost to you.
100% Acetone or Gel Remover, such as Onyx Professional 100% Acetone Nail Polish Remover for Gel (Buy from Amazon)
Foil nail wraps, such as BTArtbox Nail Foil Wraps (Buy from Amazon)
Nail file, such as Revlon Compact Nail File, Dual Sided Nail Care Tool (Buy from Amazon)
Cuticle pusher, such as Revlon Cuticle Pusher (Buy from Amazon)
Cuticle oil, such as Cuccio Revitalizing Cuticle Oil – Milk And Honey (Buy from Amazon)
Nail buffer, such as Maryton Nail Buffer Sanding Block Polisher (Buy from Amazon)


